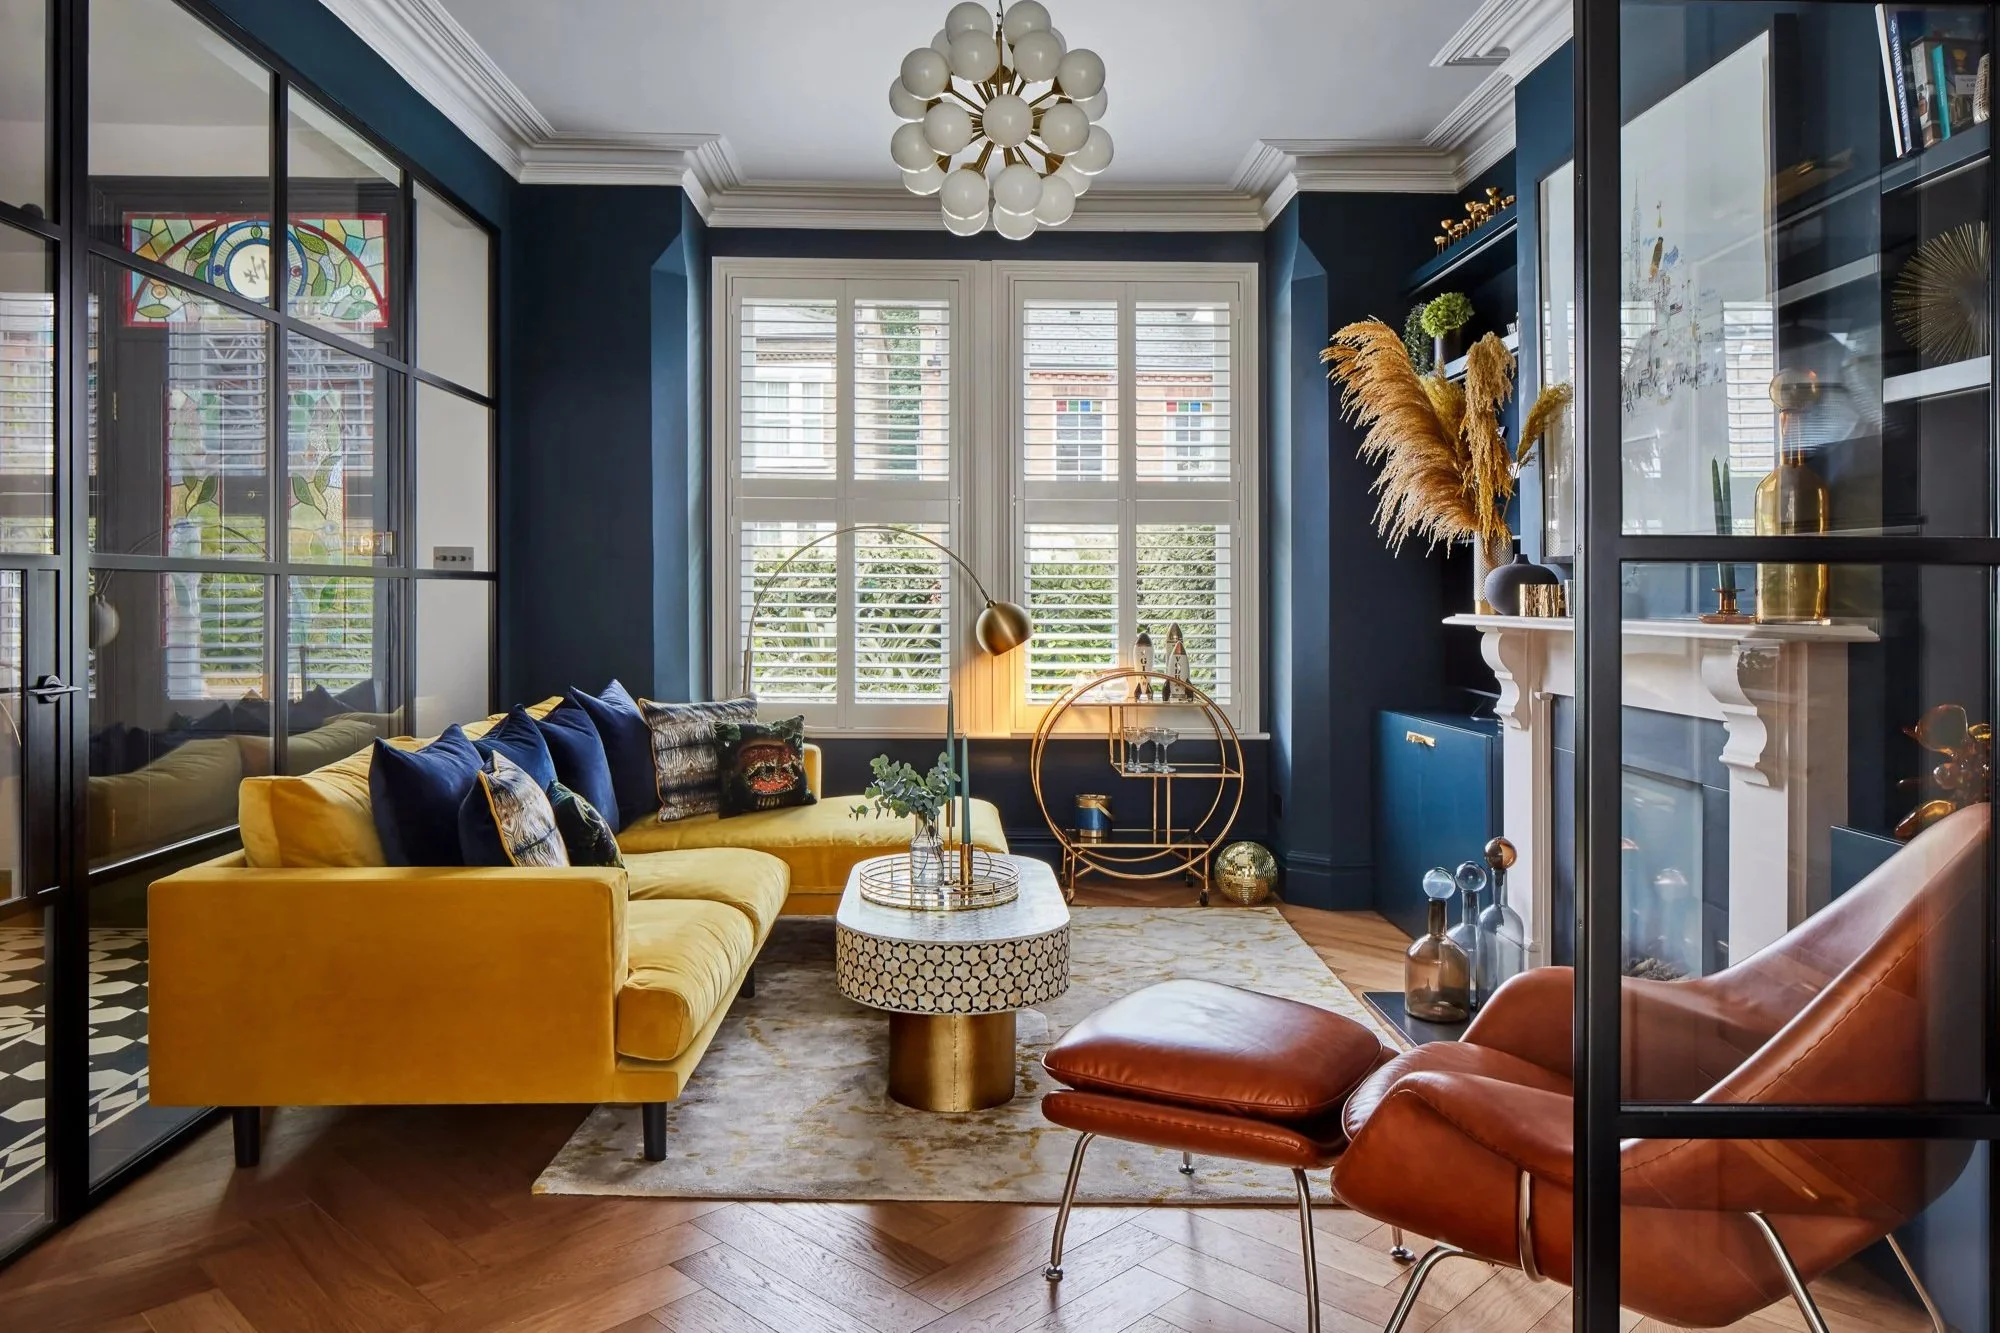
A joyful reimagining of a Victorian terrace for a young family, Project Claremont turns an awkward, under-used house into a light-filled family home with character.
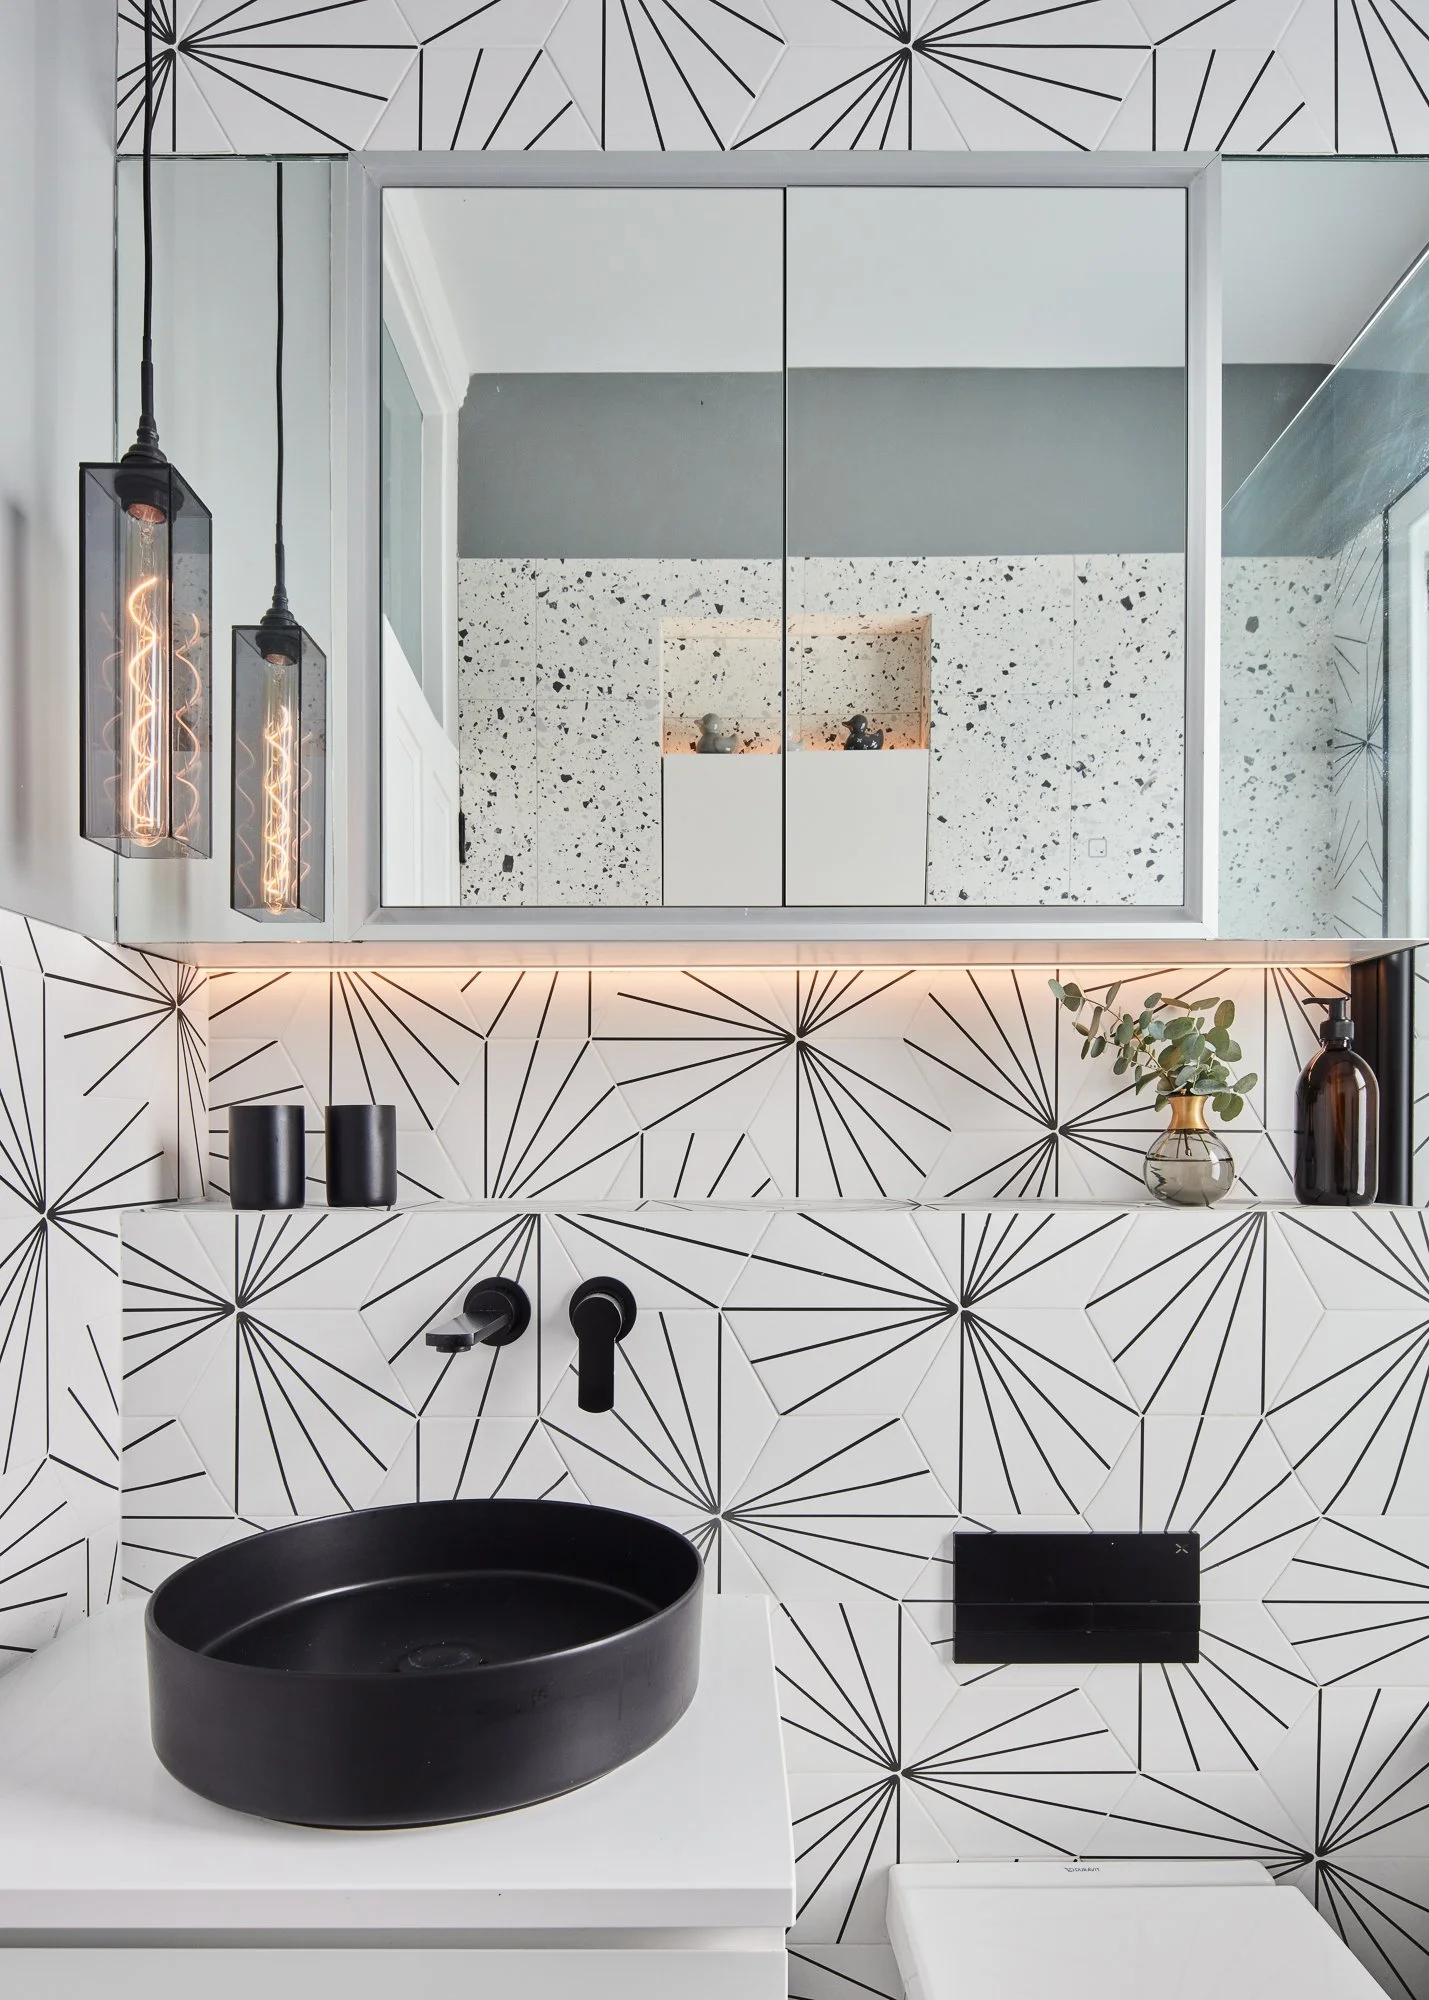
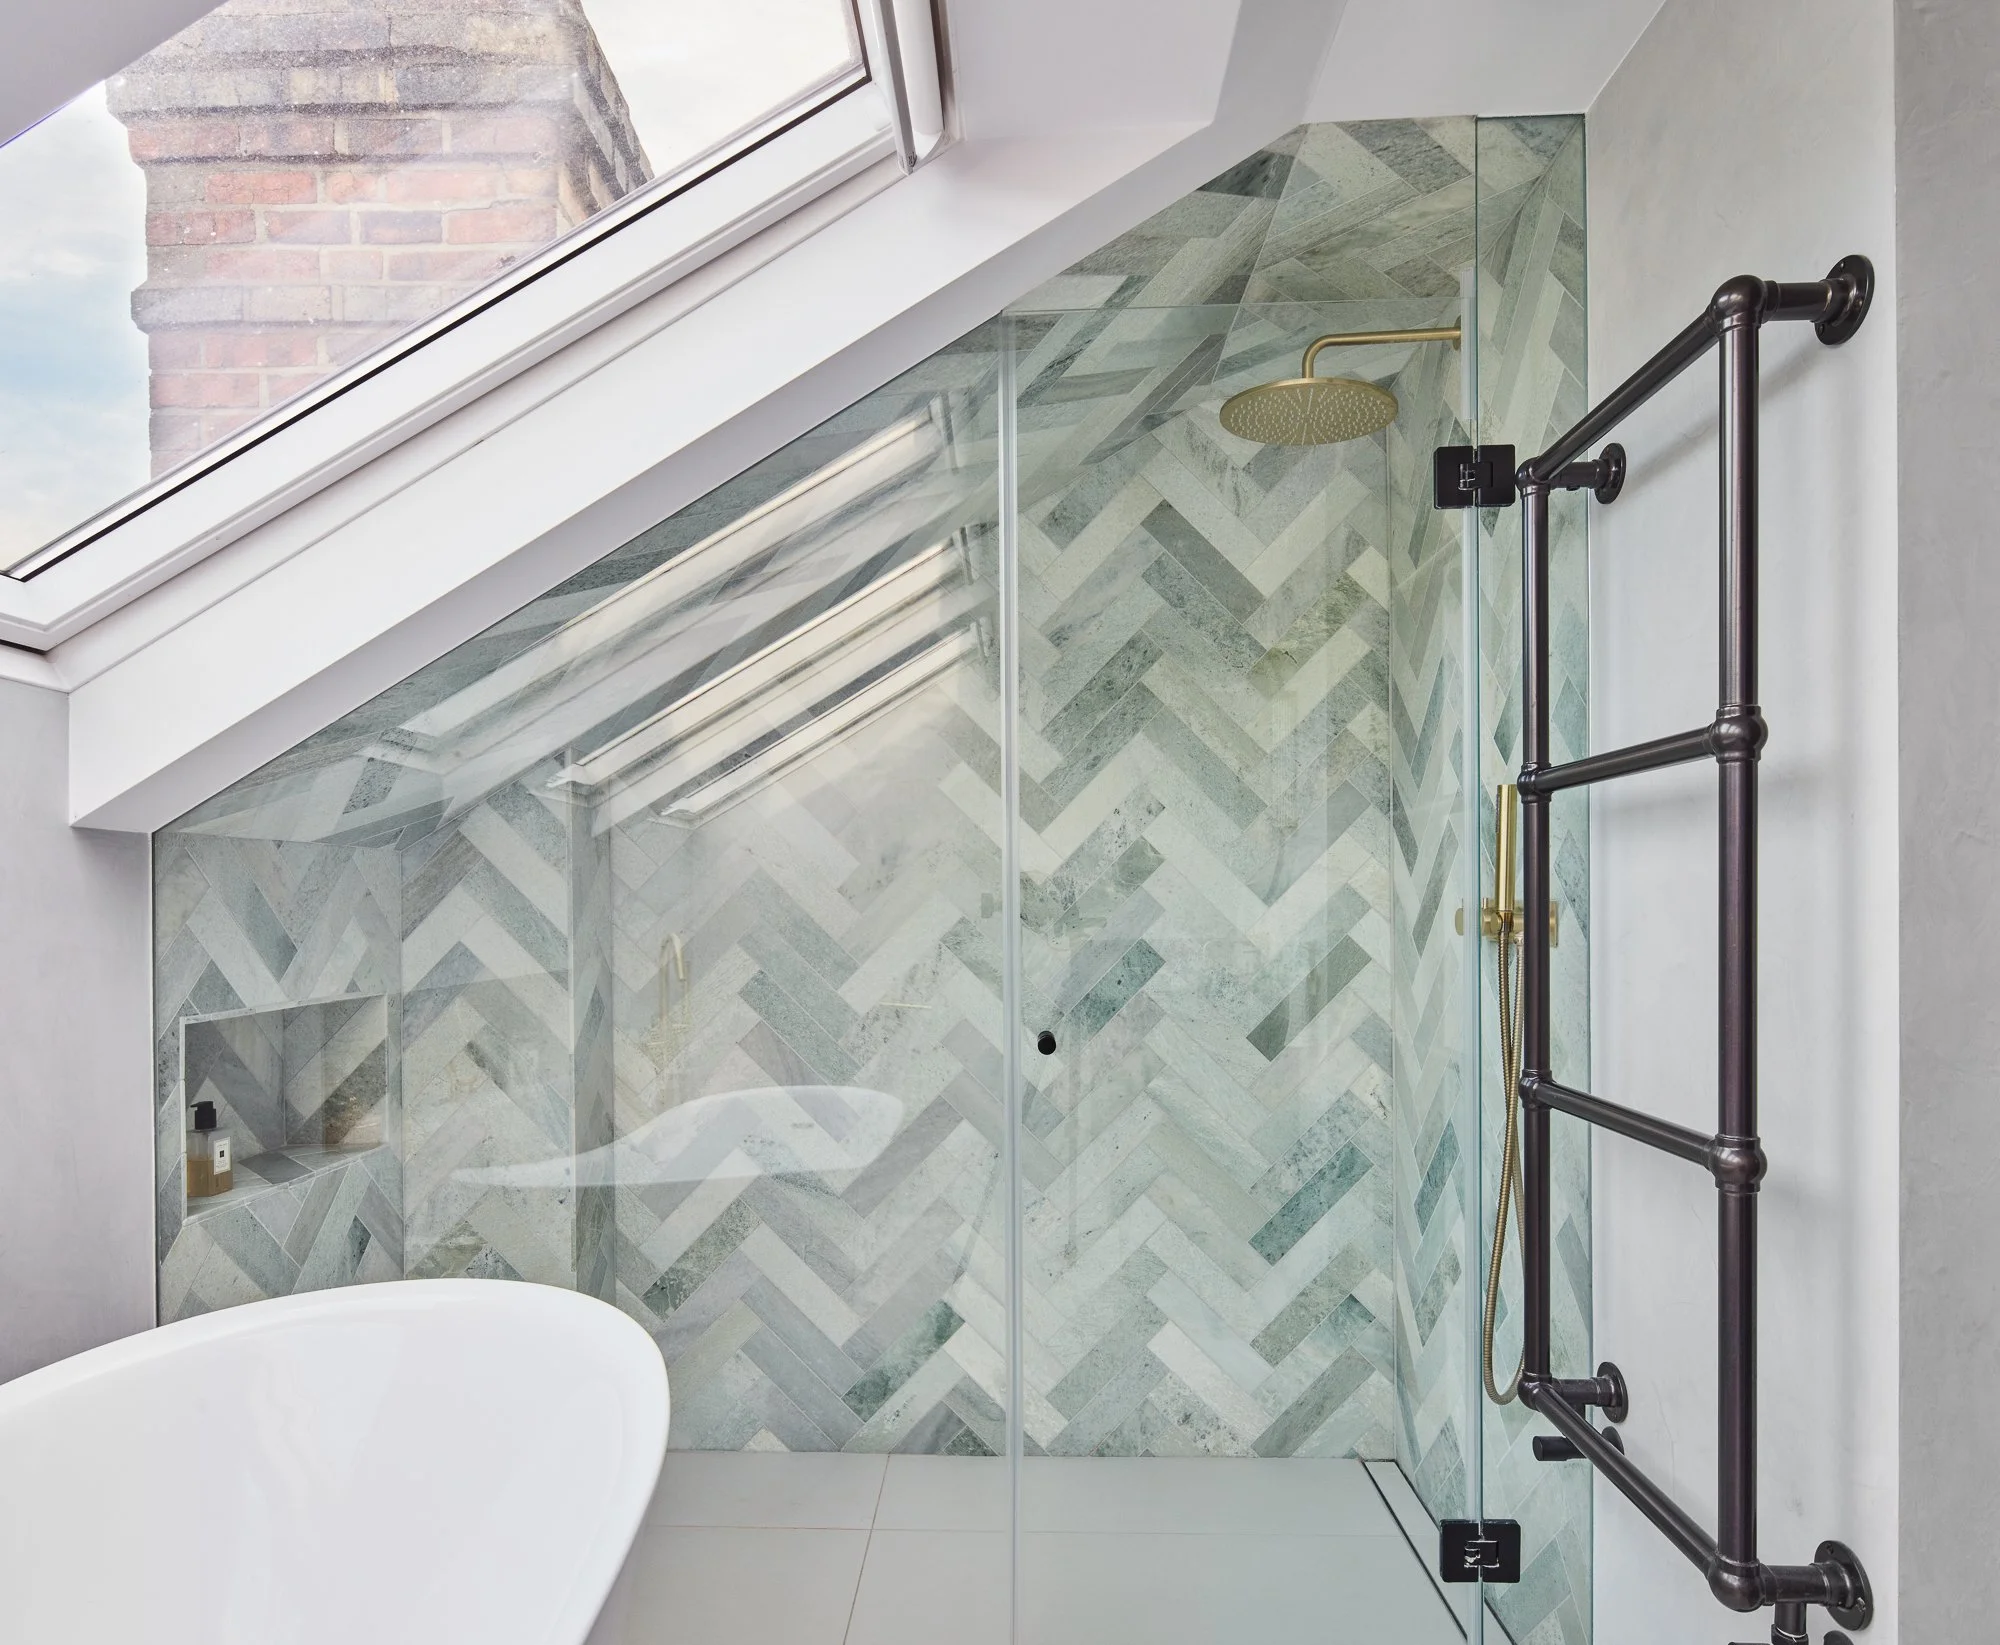
We opened up the plan for flow and storage, glazing the entire rear to the garden, adding a frameless kitchen skylight and a crittall-style screen to pull daylight through. Without adding square footage, the loft became a calm main suite, downstairs, a bespoke South Place Studio kitchen anchors daily life —and the “Miami loo” brings a wink of fun to even the greyest London day.